
As some of you know, in my other life I am an artist for an Indie game development company run by my partner. We have many friends in the same line of business, and one, a good friend called Keaton, is about to run a Kickstarter crowdfunding campaign to raise funds to finish his Indie company Abyssal Arts' game - City of the Shroud.


Keaton wasn't quite sure how he wanted the ami to look, or which character to make. After some discussion we chose the Mage as he was actually the most complex and if I could make him I could make any of them! The flowing robes attracted me to making the character, as amigurumi dressed in felt clothing look so good!

I did some sketches of basic humanoid amigurumi shapes but after showing these and some samples to Keaton I could tell he was a bit lost on what to choose! We managed to rule out a couple of styles but I realised it was otherwise down to me. :)

I spent some time making some sketches from screenshots and playing the game but struggled to see enough detail to be confident in my designs. Keaton kindly sent me the 3D models from the game which I could view on my computer and see all the details I needed for designing the amigurumi itself.


I made some drawings from this model, picking out the most distinctive details and colours. When making an amigurumi like this it is impossible to capture every tiny detail, so I have to pick out which features are the most important and which capture the spirit of the model the best.


Once I did this I could design the amigurumi itself.

The robe and all other fabric bits such as on the arms and the backs of the legs are a dark blue and lined with a dark rose-red. I prefer to make ami clothes from felt rather than crocheted as they look much better, but for the mage I would have to omit the lining colour. A double thickness of felt would be too stiff and the dark blue of the felt prevented me colouring one side of it with ink. I chose a deep blue for the robe, a pale blue for his cowl, mask and trims and finally a mid brown for the leather straps and belts that cross his body.

The circular buckle type feature on his chest would be impossible to recreate exactly and would in any case look wrong if I had tried to make it from polymer clay - when the amigurumi is so small too much detail in some parts when the rest is simplified just looks strange (in my opinion). I opted for a large wide-edged antique-gold coloured eyelet carefully glued in place, with a gold-coloured plastic cabochon gem in the centre.


Once all this was decided, I could go ahead and make him. My first attempt at his legs came out far too small, but once I increased the size slightly they looked perfect. In contrast, my first attempt at his arms came out too large and looked silly, so I made them slightly smaller and then they looked perfect too.
I scribble down what I am doing as I crochet to record the pattern. This is how the pattern for the mage looked as I made him and before I recorded it properly!

Body of the amigurumi crocheted, I then had to make and fit his tiny felt clothes. These are the pattern pieces that I designed to make up his robe, cowl and mask.

All the pieces are sewn together with tiny stitches, but the trims and details are carefully glued in place with hot glue.
The buttons were made from dark silver craft brads, with the back removed and glued in place.


He has binding around his upper arms which I reproduced using some textured yarn, and lots of leather straps which I carefully fashioned out of brown felt, using a fine Sharpie pen to add the detail on the back.

I decided against putting a belt buckle on him, although the character has one. He already had the chest piece and a button on his cowl, so another eye-catching feature on his front would make him look too busy.

The Mage has 4 dreadlocks in a ponytail. I used a thick fluffy black yarn and stitched his hair from his hairline into the spot where the ponytail would be. Any bits of 'skin' that showed through were shaded using a black Sharpie permanent marker pen. I then made his ponytail separately and sewed it in place on the finished amigurumi.


His robe has a tattered edge so I used a deckle edged rotary cutting blade to achieve a similar effect.


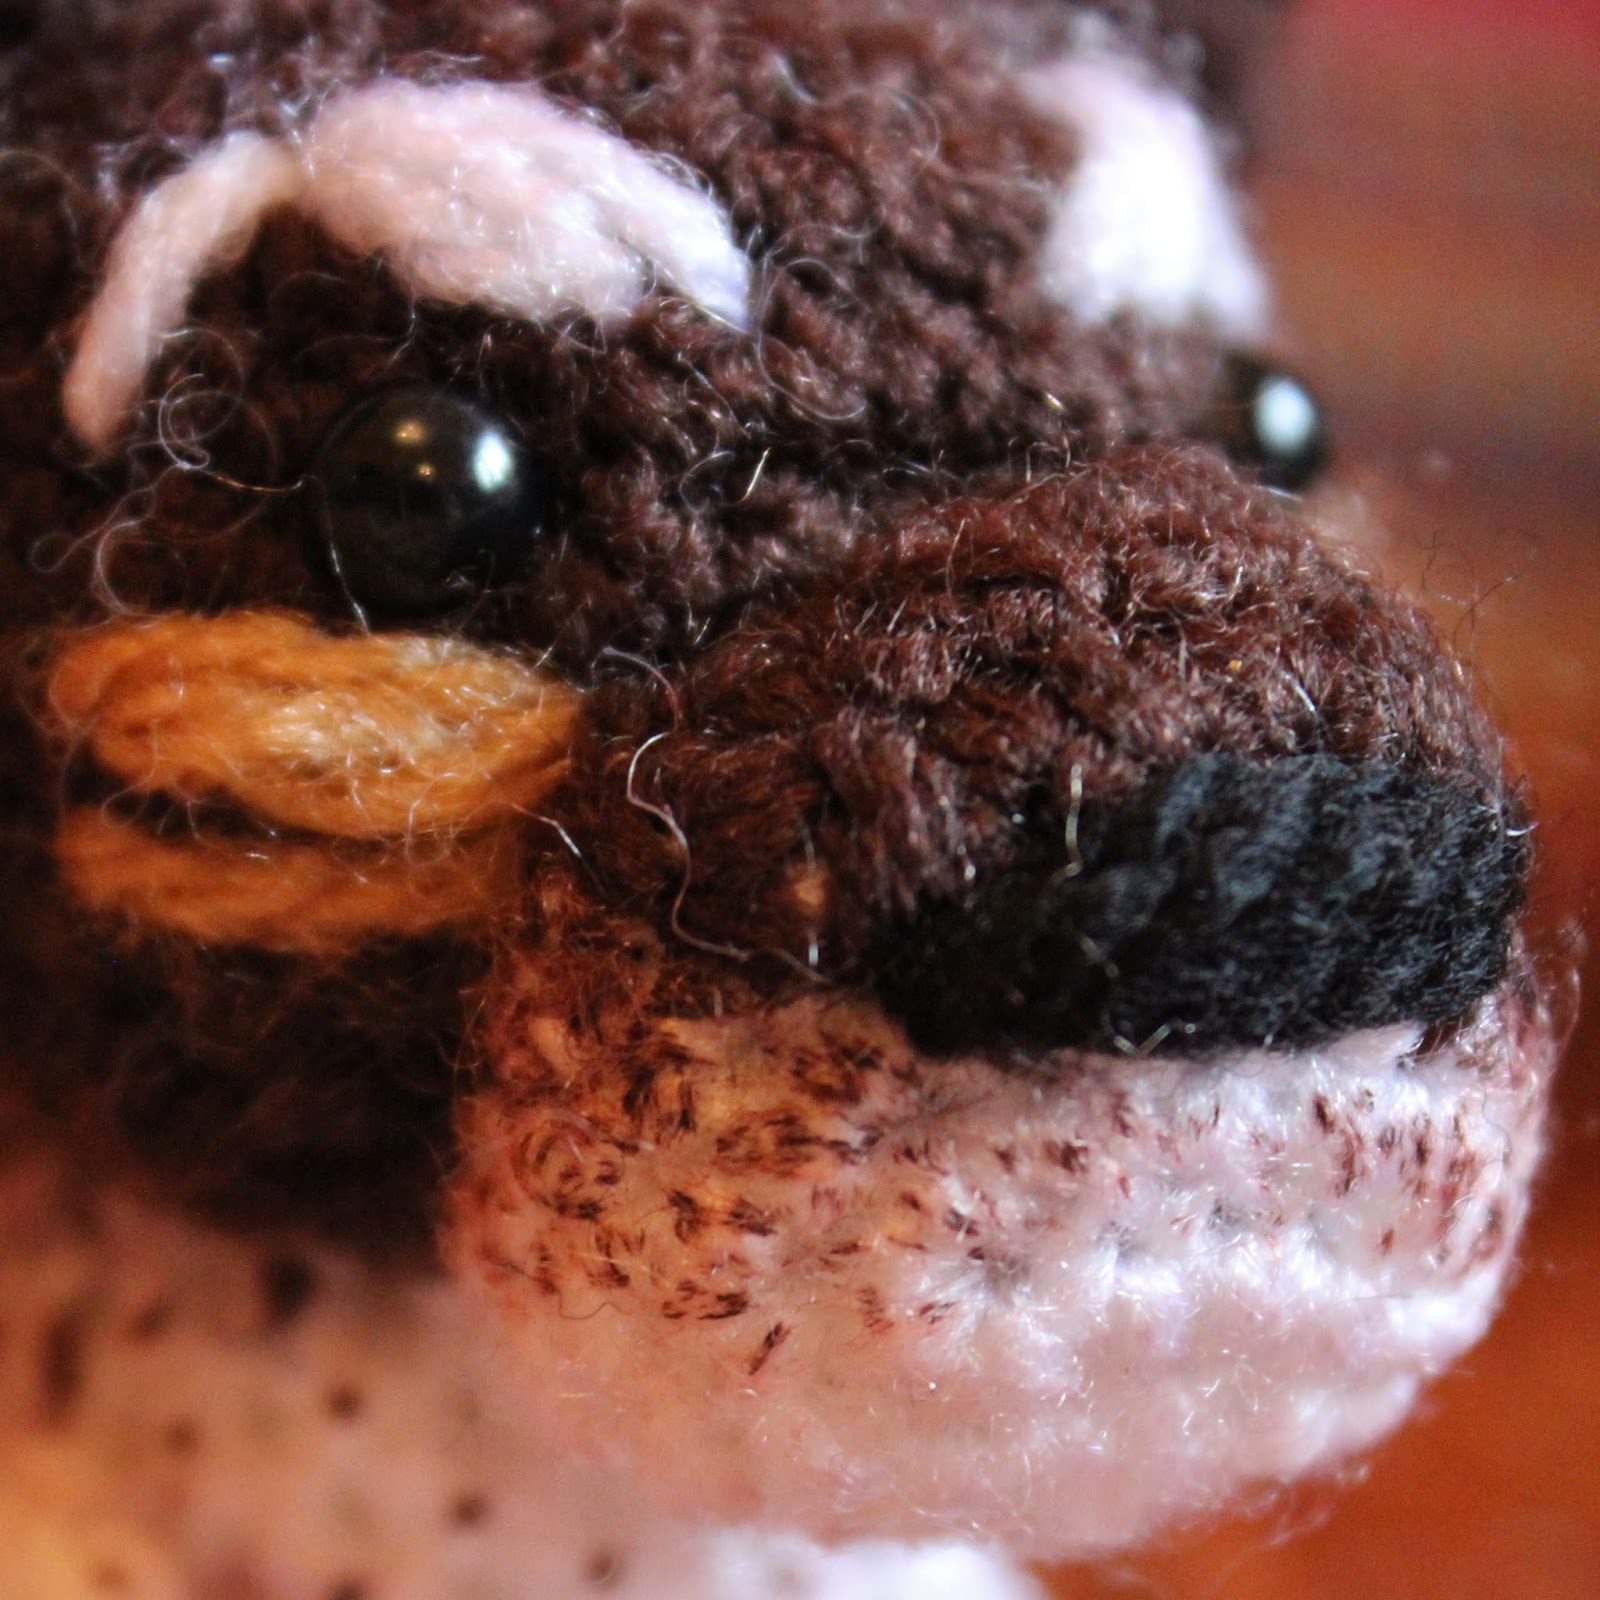
I had a lot of difficulty making his mask look correct. It needed some definition, and I tried drawing it on with a Sharpie which kind of worked but not well enough - it looked odd with the rest of the amigurumi. I also tried a full second layer of felt with the eye 'dents' cut out, but again, it didn't look quite right.

I ended up making (very fiddly but worth it) cut out pieces to stick onto the mask surface to give the definition it needed.


I am really proud of how this amigurumi has come out, but I was, as always, very nervous about handing over the finished object just in case it wasn't what Keaton had imagined. However, as always, it was all OK and he loved it!

Please check out the Game & the Kickstarter! All the details you need can be found here.
Kickstarter can be found HERE!


